Understand why alignment resets are critical in competition
Implement wall alignment for position and heading correction
Use bumper sensors for precise stopping
Combine corner alignment to fix both X and Y position
Why Alignment Matters
No matter how good your odometry is, small errors accumulate. After four moves, your position estimate might be off by an inch. After eight moves, two inches. Before a critical scoring action — like placing a stack in a small goal — two inches can mean the difference between scoring and missing.
Alignment strategies use the physical field as a reference. The field walls are guaranteed to be exactly where they are. Driving into a wall and squaring up against it eliminates accumulated position and heading error with certainty.
The best autonomous routines deliberately route the robot to walls between scoring actions, using each wall touch as a “reset” that removes error before the next critical move.
Wall Alignment: The Foundation
The simplest alignment: drive slowly toward a wall until you make contact, then stop. Your position at that wall is now known exactly.
from vex import *brain = Brain()left_motor = Motor(Ports.PORT1, False)right_motor = Motor(Ports.PORT6, True)inertial = Inertial(Ports.PORT3)def align_to_wall(speed=20, timeout_sec=3): """ Drive slowly forward until motors stall (robot hits wall). Stops when current spikes indicate stall. """ timer = Timer() timer.reset() left_motor.spin(FORWARD, speed, PERCENT) right_motor.spin(FORWARD, speed, PERCENT) # Drive until both motors stall OR timeout while timer.value() < timeout_sec: left_current = left_motor.current(CurrentUnits.AMP) right_current = right_motor.current(CurrentUnits.AMP) # Motors stall when current exceeds threshold if left_current > 1.5 and right_current > 1.5: break wait(20, MSEC) left_motor.stop(HOLD) right_motor.stop(HOLD) wait(200, MSEC) # Now release hold so robot is gently against wall left_motor.stop(COAST) right_motor.stop(COAST)
Heading Reset After Wall Alignment
When you drive into a wall face-on, your robot is now perfectly perpendicular to that wall. This is the ideal time to reset your heading:
def align_to_wall_and_reset_heading(wall_heading, speed=20):
    """
    Align to wall, then set inertial heading to wall_heading.
    wall_heading: the heading that means 'facing this wall directly'
    """
    align_to_wall(speed)
    inertial.set_heading(wall_heading)
    wait(100, MSEC)
If your robot starts facing the far wall at 0°, and you drive into the near wall while facing 180°, call inertial.set_heading(180) after alignment.
Bumper Sensor Alignment
A more precise approach: mount bumper sensors on the back of your robot and drive backward into the wall.
bumper_left = Bumper(Ports.PORT4)bumper_right = Bumper(Ports.PORT5)def align_to_wall_bumper(speed=20, timeout_sec=3): """ Drive backward until both bumpers are pressed. More precise than current-stall detection. """ timer = Timer() timer.reset() # Drive backward slowly left_motor.spin(REVERSE, speed, PERCENT) right_motor.spin(REVERSE, speed, PERCENT) while timer.value() < timeout_sec: left_hit = bumper_left.pressing() right_hit = bumper_right.pressing() if left_hit and right_hit: break # If only one bumper is pressed, slow that side if left_hit and not right_hit: left_motor.spin(REVERSE, 5, PERCENT) # Slow left right_motor.spin(REVERSE, speed, PERCENT) # Keep right going elif right_hit and not left_hit: left_motor.spin(REVERSE, speed, PERCENT) right_motor.spin(REVERSE, 5, PERCENT) wait(20, MSEC) left_motor.stop(BRAKE) right_motor.stop(BRAKE)
The differential speed correction is a nice touch: if the right bumper hits first, slow the right motor until the left catches up. This actively squares the robot against the wall even if you approach at a slight angle.
Corner Alignment
Aligning to one wall fixes one axis. Aligning to two perpendicular walls (a corner) fixes both X and Y position — and heading too. After a corner alignment, you know your exact location on the field.
def corner_align(back_wall_y, side_wall_x, back_heading, side_heading):
    """
    Align to two perpendicular walls to establish exact position.

    back_wall_y: Y coordinate of the wall behind the robot
    side_wall_x: X coordinate of the wall to the side
    back_heading: heading to face when backing into back wall
    side_heading: heading to face when backing into side wall
    """
    # 1. Turn to face away from back wall and back into it
    turn_to_heading((back_heading + 180) % 360)
    align_to_wall_bumper(speed=20)
    inertial.set_heading(back_heading)
    reset_position(robot_x, back_wall_y)  # Fix Y position
    wait(300, MSEC)

    # 2. Turn to face away from side wall and back into it
    turn_to_heading((side_heading + 180) % 360)
    align_to_wall_bumper(speed=20)
    inertial.set_heading(side_heading)
    reset_position(side_wall_x, robot_y)  # Fix X position
    wait(300, MSEC)

    # 3. Turn to your starting direction for next movement
    turn_to_heading(0)
Object-Based Alignment
Field elements like scoring goals can also be used for alignment. If your distance sensor can see the goal:
distance_sensor = Distance(Ports.PORT2)def align_to_goal_distance(target_dist_mm=100, speed=20): """ Drive forward until the front distance sensor reads target_dist_mm. Use this to position robot exactly in front of a goal. """ while True: dist = distance_sensor.object_distance(MM) if dist <= target_dist_mm: break # Slow down as we approach approach_error = dist - target_dist_mm power = min(speed, approach_error / 5) # Proportional slowdown power = max(5, power) # Minimum 5% to keep moving left_motor.spin(FORWARD, power, PERCENT) right_motor.spin(FORWARD, power, PERCENT) wait(20, MSEC) left_motor.stop(BRAKE) right_motor.stop(BRAKE)
Integration: Alignment in a Full Routine
Here is how to use alignment strategically in competition:
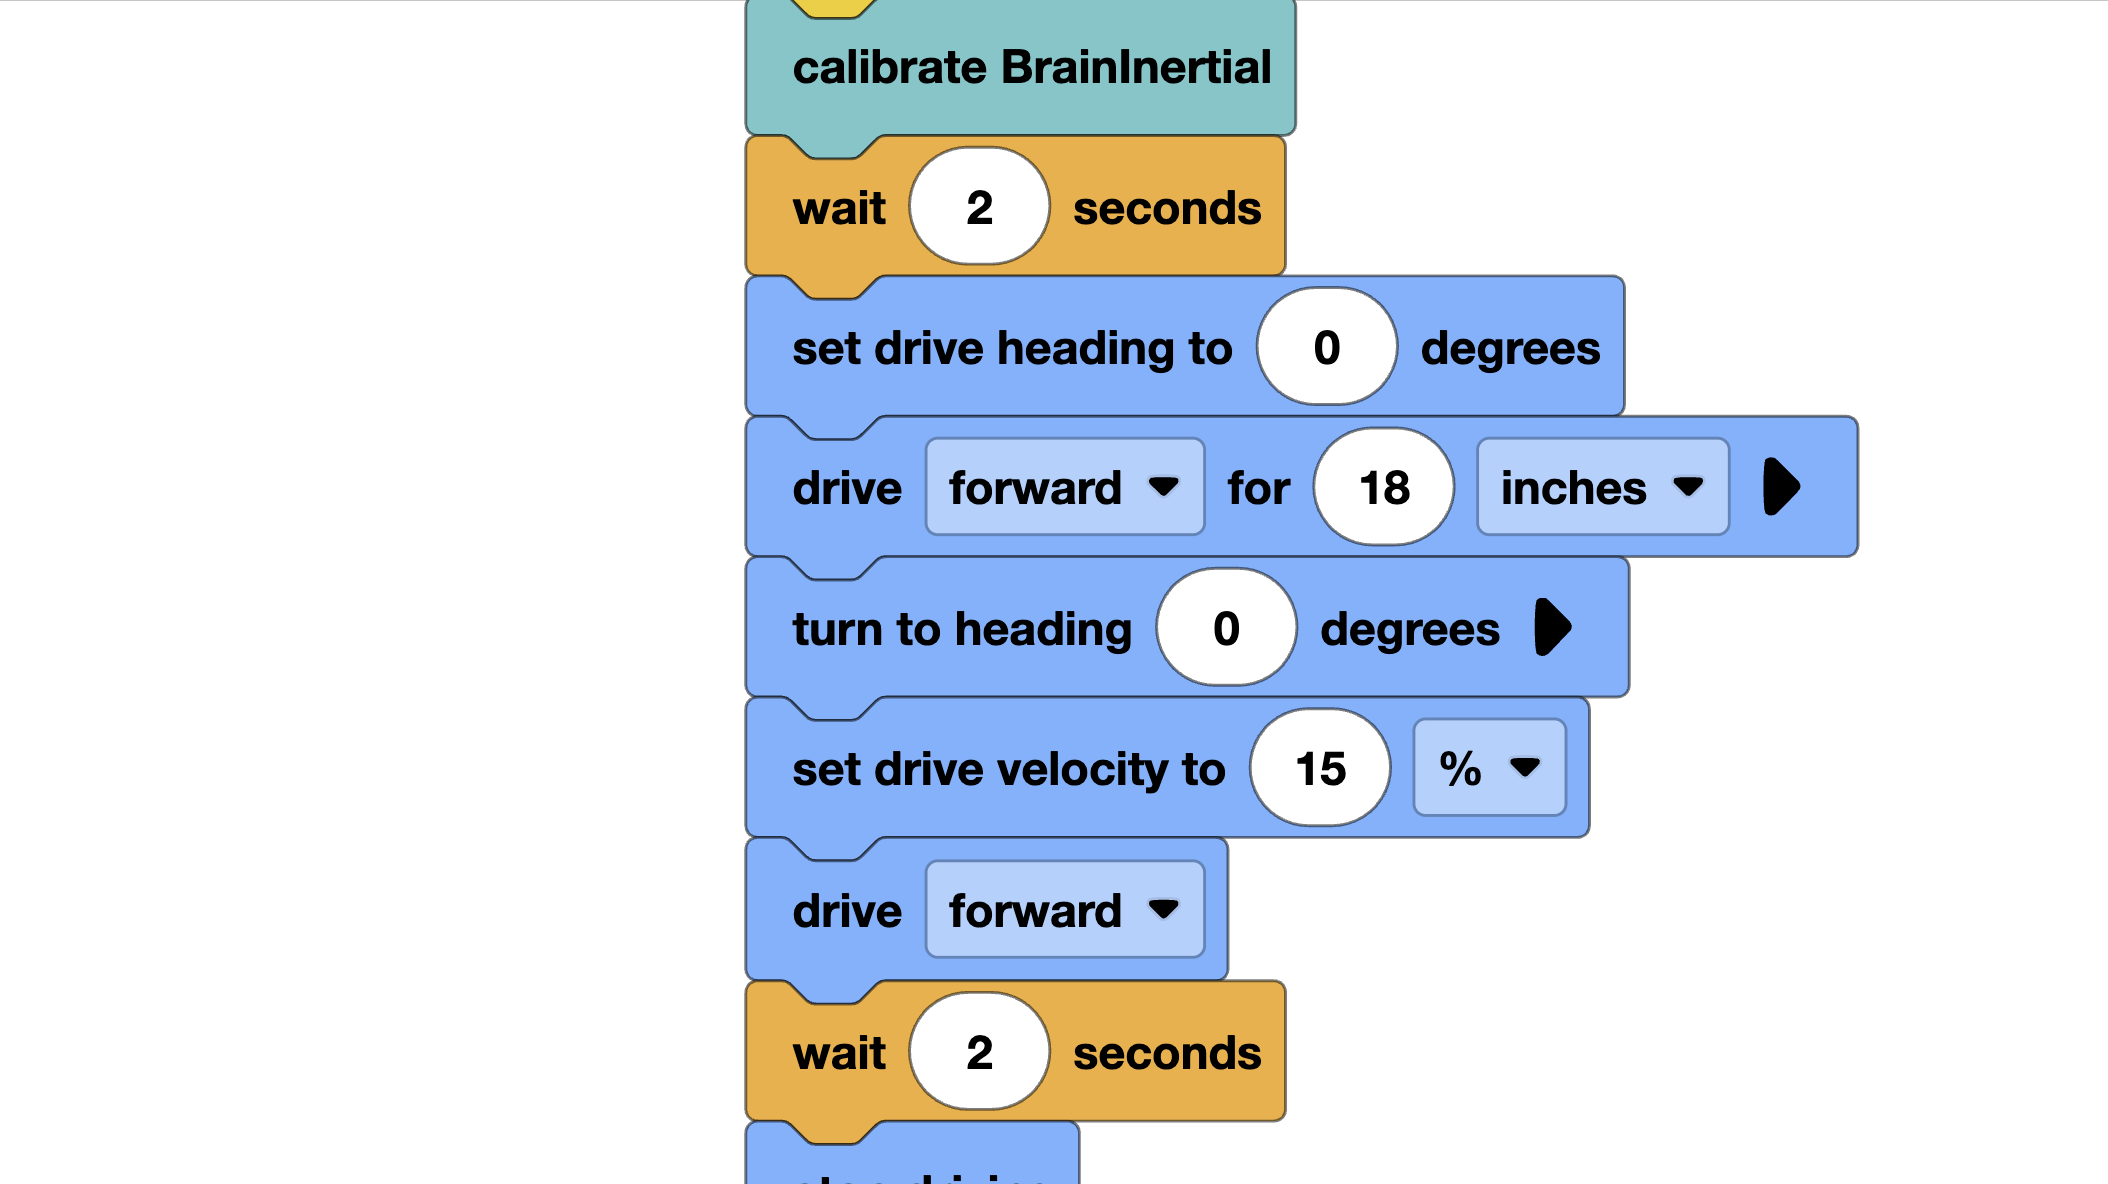
# Initializeinertial.calibrate()wait(2, SECONDS)inertial.set_heading(0)reset_position(0, 0)odometry_thread = Thread(odometry_loop)# --- Phase 1: Score first stack ---drive_to_point(0, 18) # Drive to first stack# ... pick up stack ...drive_to_point(0, 30) # Drive to goal# ... score ...# --- Alignment Reset (critical!) ---# Back up to the far wall to reset positionturn_to_heading(0) # Face the far wallalign_to_wall(speed=15) # Drive gently into far wallinertial.set_heading(0) # We are now facing exactly 0 degreesreset_position(robot_x, 36) # We know Y = 36 (far wall position)wait(200, MSEC)# --- Phase 2: Score second stack ---# Now position is accurate again after the resetdrive_to_point(12, 24) # Navigate to second stack from known position# ... and so on
When to Use Each Strategy
Strategy
Best For
Precision
Speed
Motor stall
Quick wall touch, no bumpers
± 0.5 in
Fast
Bumper sensors
Precise alignment, square robot
± 0.1 in
Medium
Corner align
Maximum position certainty
± 0.1 in both axes
Slow
Distance sensor
Approaching game objects
± 0.2 in
Fast
Tips for Competition
Plan your alignment opportunities: Before programming, walk the field and identify all the walls your robot will naturally pass near. Each one is a free reset opportunity.
Do not over-align: Every alignment costs time. Use them strategically before high-precision moves, not after every action.
Test with 80% battery: Align routines feel different at low battery. The stall current threshold changes. Test at the same battery level you compete at.
After alignment, wait briefly: After hitting a wall, wait 200-300ms before moving. This lets the robot settle and the inertial sensor stabilize.